Pages

Showing posts with label #ewew cooks: Crispy Stuff. Show all posts

Thursday, 22 June 2023

My Initial Air Fryer Joy - Fries, Hash Browns & Onion Rings

I've been wanting to get an air fryer for the longest time but was undecided if I should get an air fryer oven or a typical drawer-type air fryer.  The difference between the two is obviously the physical size and the capacity/amount of food it can cook at one time.

Getting the right air fryer for your (and your family's) needs is very important so as to ensure it can do the things you want it to do otherwise it's likely to become a white elephant sitting on your kitchen counter top completely useless or underused like some kitchen gadgets can be (we all have some of those).

In the end, I settled for the smallest Philips Airfryer in the market as the key thing I wanted it to do was to make snacks and small portions of food.  The other point that swayed my decision was that I just wanted to see if I'd be happy with the taste of food that comes out of an air fryer (since my neighbour once told me that her husband likes to eat deep-fried chicken but not air-fried chicken...lol).  I also knew that I didn't need an air fryer to do what my current convection oven can.  So, a large capacity air fryer was not needed (for now) until my convection oven konks, then I'll probably consider an air fryer oven.

Once my new toy arrived (I've had it for about 3 months now), I quickly put it to the test to do the very thing I wanted it to do.....and that is to make a snack of fries (everyone's favourite)!  I usually get Simplot Straight Cut Fries but noticed this Ramly's Straight Cut Fries looked rather good visually (and by that I mean each piece is intact and not broken up).

So, in it goes (not too much overlapping) into the air fryer at 200°C for about 12 - 15 minutes.  Check at the halfway mark and give it a good shake/stir.  The heat of the air fryer is quite similar to my convection oven in that it's hotter at some parts (especially the sides than in the centre), so you'll have to toss it around (a few more times) for a more even browning (especially if the fries are overlapping).

The fries came out sufficiently browned and crisp at the edges with the insides lightly soft.  I thought this Ramly Straight Cut Fries was very good quality indeed and is priced significantly lower than Simplot Straight Cut Fries.

But my family prefers shoestring fries (like McD's) to straight cut fries as they're thinner and can crisp up better.  It's rumoured that Simplot's Shoestring Fries is what McD uses for their French Fries, so I just had to get a pack to see if there's any difference.

Just remember to season with salt (my family likes it with black pepper too) as soon as it comes out while the fries are still hot, otherwise the salt won't stick to them.  Ah, my husband proclaimed, just like McD fries....lol.  Not sure if I tasted any significant difference myself (with other brands I've eaten) but the insides were a little softer I think (which I prefer).  P/S: McCain's Curly Fries is purportedly similar to McD's Curly Fries too but I don't have a thing for curly fries, so I won't be testing them out.

Even when I seasoned the fries immediately out of the airfryer, my son thought the seasonings still didn't adhere to the fries that well, so  tthe next time I made them, I experimented with seasoning the fries first (with salt and black pepper but this time added garlic powder) before putting into the airfryer.

I've to say we were absolutely happy with the result as the seasoning adhered to the fries much better giving it a much more savoury bite.  I thought the addition of garlic powder was brilliant...it made the fries so much tastier! ^o^

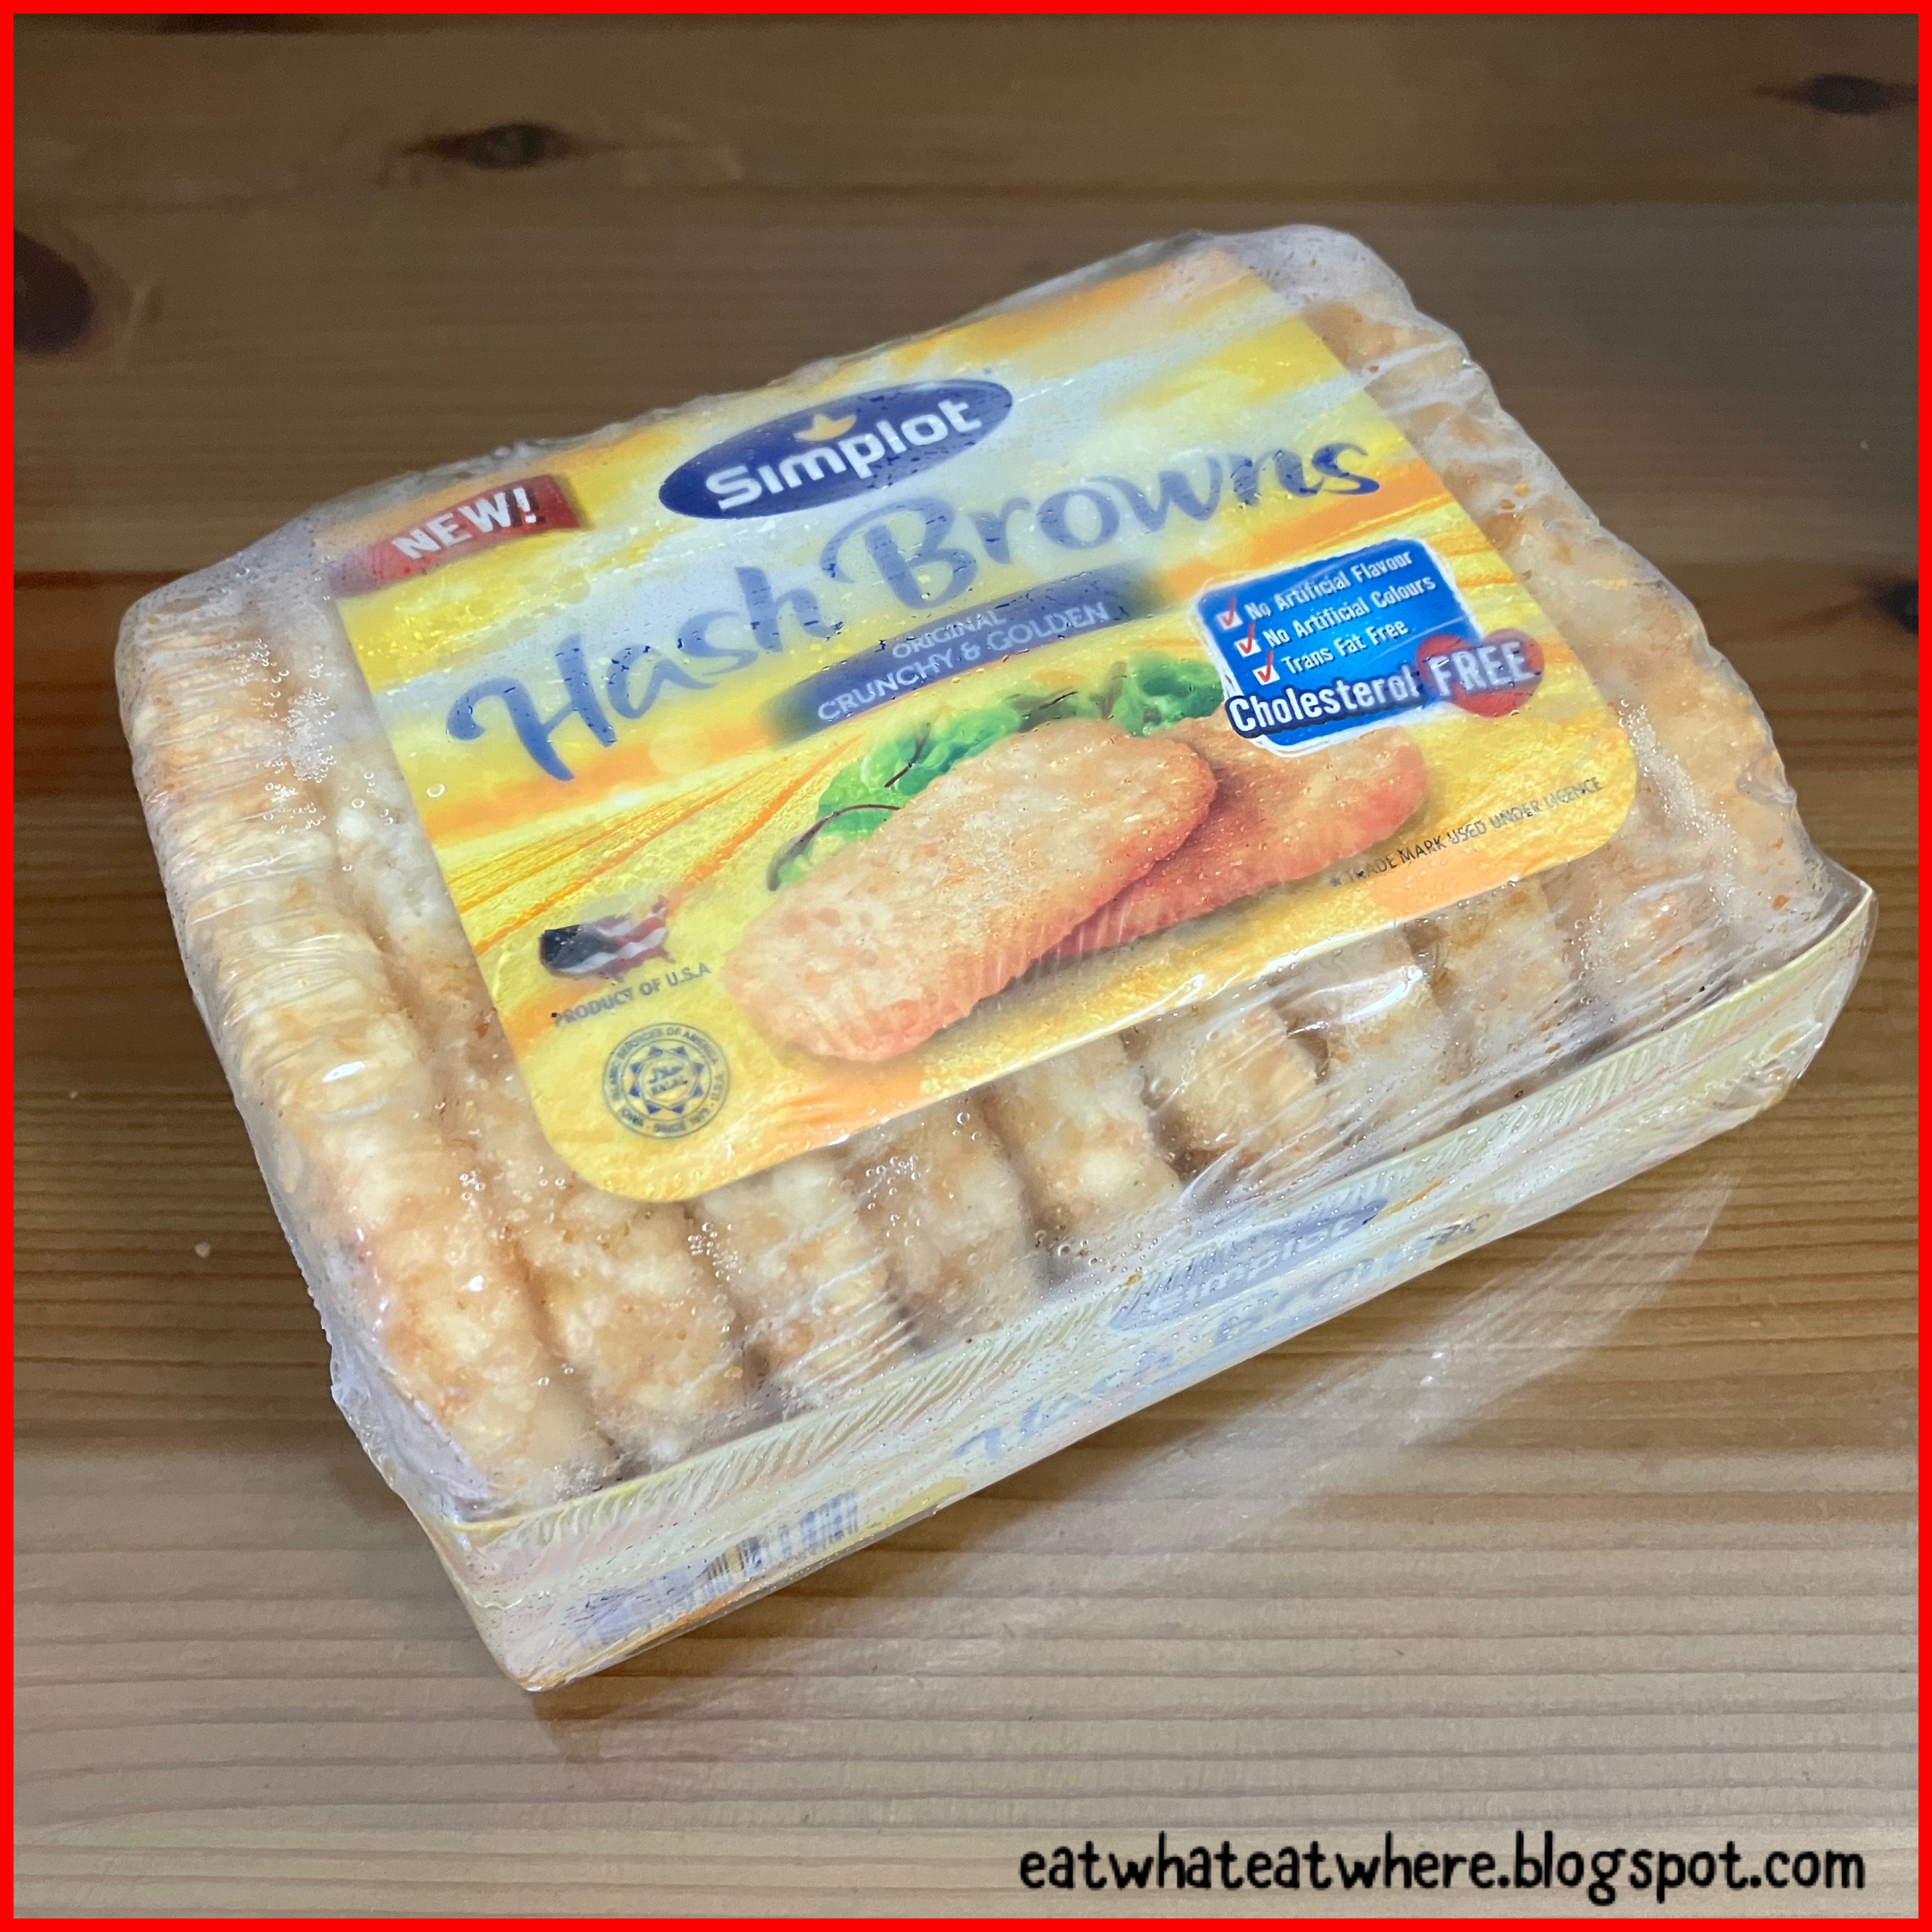
Besides fries, I also like to eat hash browns and especially love to eat McD's breakfast that comes with a hash brown.  Well, apparently McD uses Simplot Hash Browns too!

So, of course I had to get some to try, right?  Into the air fryer it goes and since a hash brown is quite thick, it'll need a good 15 minutes to cook from frozen state.  I took mine out at 12 minutes and the exterior was crisp.  Leave it in for longer to get it crispier and more browned.

Besides fries and hash browns, another favourite fast food-type snack would be fried onion rings (our favourite is Wendy's).  I was at the supermarket and chanced upon these McCain Onion Rings.

These were breaded onion rings and they turned out pretty good, quite savoury in taste.  We certainly wouldn't mind making these add-ons when we're having a fast food meal.  Of course I can't vouch how far all this is true and if McD actually uses these two brands but I guess Simplot and McCain are decent enough brands for fries, hash browns and onion rings.

But an even greater use I've found with an air fryer is for reheating food.  It works really well with all things fried where you want to get that crispiness back into your leftover food.  I've tried it with many fried stuff like chicken, yong tau foo, carrot cake, vadai, wantan, sui kow, mushrooms, roti canai, pork pattties, fish cake, goreng pisang, fried popiah and all kinds of meat/fish balls among others.  I've got to say it worked exceptionally great with fu chuk, wantan and roti canai (the latter was a bit of a revelation for me).  You can get the fu chuk and wantan back to 100% crispiness...and roti canai never tasted crispier before.  You can't even get that level of crispiness if you eat at the roti canai stall.  I now have no qualms about buying fried food ahead especially roti canai for eating later (and even prefer to do that now)...but do note it works better (as in crispier) with plain roti canai than roti telur (most likely due to the egg content in the dough).

However, it doesn't work with everything.  I tried reheating (and toasting) bread but you just can't get it as crisp as the toaster oven can (it won't be call a toaster if it can't toast bread well, right?).  I guess an air fryer isn't a do-it-all, otherwise there'd be no place for other kitchen equipment to stake a claim in your kitchen...lol.

Besides the air fryer making my snack making a cinch, these paper liners were of great help too.  They eliminate the need to wash the air fryer basket (just a wipe down every now and then will do).  You can, of course, still use aluminium foil or baking paper but that involves a bit more work to line the air fryer basket properly.  I find these ready-to-use paper liners so much easier and convenient.  And yes, I use round paper liners to line a squarish air fryer basket (haha, like a round peg in a square hole)...since they fit in seamlessly and properly.

Only drawback is that they're thin and lightweight...and tend to fly up in the air fryer, so weigh it down with something (like a wire rack) if your food is not heavy enough.  Since they're so thin and cheap (less than RM10 for 100 pcs), I'd use 2 or 3 liners at one time.  I do wish the paper liners were thicker (I can't find any) so that they won't lift up but I guess if they're thick, we may not get the desired result since hot air need to circulate all around the food drawer to cook and crisp up the food.

The liners even came with a guide on the temperature and timing to use for different foods but it's not needed really.  The magic number (for me) is 200°C and 12 - 15 minutes for most (frozen) food...so I don't bother remembering all the different temperatures and timing.  I keep the temperature knob at 200°C always and use a timing of between 12 - 15 minutes.  I just play it by ear on the cooking time by checking the air fryer basket periodically.

If there's one downside to the Philips Airfryer I bought is that it's an analogue version, so setting the cooking time can be a little tricky.  You just can't be precise with the turning of a knob.  Not only that but the cooking time (as in the knob) continues to run down even when the basket is pulled out (unlike a digital air fryer where the timing will stop as soon as the basket is pulled out).  So your timing may be a bit off (if you pull out the drawer numerous times) but that can be fixed easily with the use of a separate kitchen timer.  But, if given the choice, I'd prefer a digital one (for my next purchase) for ease of use.  I didn't get a digital one for my first purchase as this was an experimental one + the price difference was also quite significant (almost twice as much).

The one thing that discouraged me to get an air fryer initially was the thought of cleaning it.  I've heard that the top of the air fryer can get really oily and dirty (from all the oil splattering) and needs cleaning regularly. So, imagine my surprise when this was not the case as I've cleaned it (wiped it down) only once since I got it. Even then, it wasn't dirty and there was hardly any oil stains.  Maybe it's because I haven't used it to cook meat from their raw state where a measure of fats, seasoning and water content would be intermixed leading to splattering?

Do note that whatever I cooked in the airfryer I can do just as well in a convection oven (like I did previously before I got the air fryer).  It just takes a little longer (twice as long actually as the fries need about 30 minutes) but you can also make bigger quantities than a small airfryer can accommodate (as you can see, I still have plenty of room for more but it's better to exercise portion control).  So, the size of the air fryer of your choice really depends on how much food you want to cook or how many people you need to cook for.

Making small portions of snacks is so easy and fast (with minimal washing to boot), there may be a tendency to reach out to your fridge or freezer more often than you should.  So, a word of caution to those who are on a diet....don't get an air fryer (or exercise utmost restraint if you have one)! ;D  Of course, these snacks aren't all that healthy to eat but try telling that to my family...so I do try to limit their indulgence (to once a week or less)...and having a small air fryer do help with portion control...lol.  Happy snacking days (or, should I say, nights) ahead! ;P

Wednesday, 8 March 2023

#ewew cooks Fish Eggs

Do you love fish eggs (or fish roe)?  I love, love, love fish eggs! ^.^  I was tickled pink when kyspeaks referred to them as a poor man's (or woman's) caviar in a recent post.  Well, the association is certainly true since caviar is fish roe after all or, more specifically, roe from the sturgeon family.  It's a luxurious (but super expensive) delicacy and a heavenly treat if one can afford it.  

Well, I obviously can't afford it.  I've eaten what looks like caviar before, certainly not the you-have-to-break-the-bank type of caviar (like Beluga caviar...lol) but probably a very cheap version or possibly even a caviar substitute.  I love the slightly saltish flavour and crunch along with the "pop" and burst of juices when you bite into them.

Caviar
aside, let's get back to the cheap imitation of caviar that is fish eggs...or, aptly put, a poor man's caviar.  My first taste of fish eggs that left an impression was one I had at a mamak restaurant.  Along with their more popular choice of fried chicken or squid, some Indian/mamak restaurants also offer fish eggs fried to order...and they come out beautifully crispy and fragrant.  So, so good. ^o^

It's not always possible to get fish eggs from the wet market since many fishmongers don't purposely get them to sell coz they're so cheap the small profit probably isn't worth the effort.  If the fishmonger happens to get fish that have eggs in them, only then we'll have the chance of buying them coz these sizeable eggs can only be harvested from a large fish.  Sometimes the fishmonger won't even bother to take out the fish eggs when they cut them into fish steaks and that's when you find that little bit of egg still embedded in the belly cavity.  I consider that my lucky day...but there's so little of it, I treasure it like caviar...lol.

I did buy fish eggs once (from a supermarket) to cook at home before.  That was before I knew that frying them would be such a nightmare (and that's putting it mildly).  Because of the water content in the eggs/egg sac, they pop, sizzle and splatter....like hell...in hot oil.  The splattering oil made my kitchen a complete mess....not only that but the popping oil landed on my hands as well! >.<  That was the first...and last time I fried fish eggs at home.

But these days, getting to eat fish eggs is a rare occasion since not many Indian/mamak restaurants offer them anymore.  So, imagine my delight when I came across fish eggs one morning at the wet market.  These 5 pairs of fish roe cost RM10 only (if I remember correctly).  Uncooked fish eggs may not be visually appealing...it may even be geli looking at the veins in the raw fish eggs but, omg, how good they taste when cooked! ;)

The fishmonger sensed that I was hesitant in taking the fish eggs off her hands even though I told her how much I love fish eggs.  After being told the reason, she advised me to boil the fish eggs first before frying and they won't splatter as much.  With that tip in mind, I became more encouraged to try to cook them again at home.  So, as advised, I boiled them first and let them dry completely before frying.

The fish sac is very delicate and will sometimes split when you parboil them but you need not worry as, by some kind of miracle, most of the eggs will continue to hold together (of course some will still separate from the sac but very little of it).  Another cooking guru told me to steam them before frying (I'll try that method next when I'm lucky enough to score some fish eggs from the market).

I simply seasoned them with salt, white pepper and chicken powder but did dust them in a bit of cornflour (in case they stick to the pan).  I didn't deep-fry them, I shallow-fried them (of course deep-frying will result in a much crispier texture like how the mamak restaurants do it).  And yes, they did splatter just a bit.....but certainly not like the insane splattering I experienced when I cooked them from raw the first time.

I thought I'd try some different seasoning, so I did one with black pepper and one with paprika (besides salt and chicken powder).  You can also use garlic or onion powder, or whatever seasoning you like.  The black pepper is the singular one (coz I ate the other half as soon as it was fried...hee..hee).

Frying is the only way I've ever eaten fish roe (that's how the mamak/Indian restaurants cook it too). Actually, when the fish sac breaks to reveal the eggs inside, the roe gets even crispier this way when fried.

They taste so good when they're all crispy and fragrant.  Even my son loves it...and he too developed the taste for it after first eating them at a mamak/Indian restaurant! ;)  Fish roe is rather rich, so you can only eat a small portion in one sitting.

Since I had some blended chilli paste in the fridge, I thought I'd cook the balance roe with it the next day.  I cut the roe into chunks and fried them first, then sauteed the chilli paste until pecah minyak before returning the fried fish eggs into the sambal.  My son said the fish eggs were even tastier cooked this way.  Fish eggs tend to be bland on its own, so they need strong seasonings for it to taste good.  

I like that mouthfeel of biting into hundreds of individual eggs that gives it that unique textural thing and taste (if seasoned and cooked properly).  It's so good I can't even begin to describe.  It's something that only fans of fish roe will understand....hah..hah.

I consider fish eggs a delicacy, even though it's cheap, unlike its luxurious and expensive counterpart (caviar) coz it's a rare treat...you can't always get it when you want and you can't have it too often either when you do.  If I see it offered by any food places, you can be sure I'll order it.  Like all innards, fish roe is an acquired taste.....not everyone will think the world of it!  What about you.....do you like fish eggs?  I think if you enjoy the flavours of masago, ebiko, tobiko, ikura or even uni and caviar, you'll possibly enjoy (cheap) fish eggs too! ^_~

Monday, 29 May 2017

#ewew cooks Salt & Pepper Squid with Garlic & Coriander

Salt & Pepper Squid is something we like to order when we're eating out.  But I've never made them at home coz I don't really know what type of batter will yield crispy squid.

So, I googled some recipes online and came up with many different takes on it.  Some recipes say to use plain flour and some say cornflour while others say rice flour...and then there were those that say to use a combination of different flours.

I just went with what I had in my pantry...a combination of plain flour and cornflour.  Here's my take on Salt & Pepper Squid with Garlic & Coriander.

Ingredients:

10 medium-sized squid
10 cloves of garlic, smashed
A bunch of Chinese coriander leaves
Lemon wedge, to serve

For the batter:
1/2 cup plain flour
1/2 cup cornflour
1/2 tbsp baking powder
1 tbsp salt 
1 tbsp freshly cracked black pepper
1 tbsp chilli flakes (or more if you like more heat)
1/2 tsp five spice powder
1 tsp garlic powder

Preparation:

First and foremost, you have to prep the squid, of course (you can refer to my earlier post here on how this is done).  You can choose to score (or not) the squid bodies.

Pat dry and lay the prepped squid on some paper towels to drain off any excess moisture.

Next, I just smashed the peeled garlic cloves with the blade of the knife.  I wasn't making garlic chips, so I didn't bother to slice them evenly.

Finally, prepare the batter.  I find it easiest to just put everything in a zip lock bag (this way the flour won't fly everywhere).  Give it a good mix and it's done.

Method:

First up, fry the smashed garlic till crisp and golden brown.  Drain on paper towel.

Dredge your squid in the prepared batter only when you're ready to fry.  Do not dredge and prepare them ahead of time (like I did once) as the squid will be damp allowing it to seep through the dredged flour, even if it was only for a couple of minutes (think of a sweaty face with talcum powder for lack of a better comparison...kekeke!).

Do not overcrowd the pan of oil but fry them in small batches until just pale golden.  Drain on paper towels.

If you like, you can fry up some crispy Chinese coriander to add another dimension to your dish....plus they're quite nice to eat and offer a bit of a crunch.

And this was my first attempt at making Salt & Pepper Squid with Garlic & Coriander which I made with just 5 squid.

Obviously, my first attempt didn't yield quite enough squid :(  So, I made sure I made more the second time round.  I doubled up! :)

Taste-wise, the flavours were pretty good and the addition of garlic (the more the merrier) made it just that much more flavoursome. ^o^  Just that the squid wasn't as crispy as it should be but that was down to me as I fried it in very shallow oil (about half an inch only).

I was willing to sacrifice a bit of that crispiness by not frying it in lots of oil and having to throw all that oil out afterwards (+ I was also afraid of the mess the splattering oil will make in my kitchen).  So, if you want your salt and pepper squid to be crispy, you need it to deep-fry in a good amount of oil! :P

I don't know how much crispier the squid will be if they were deep-fried instead of shallow fried.  You have to try it out yourself to find out.  Also, the batter didn't adhere all that well to the squid.  I'm not sure if this was due to the shallow frying or the batter itself.

It was more crisp the first time I made it coz I made the mistake of dredging them in flour beforehand (as there was more squid to handle) when I made this the second time.  So, remember to dredge and then fry immediately if you want your squid crisp.

Presentation-wise, it wasn't the best looking Salt & Pepper Squid with Garlic & Coriander as the shallow oil didn't allow the squid pieces enough space to curl up properly.  Though it may come up short when compared to the super crispy Salt & Pepper Squid I get at restaurants, at least it's only half the price when I make it at home.

This Salt & Pepper Squid dish can be served in two ways....as a starter to a western-course meal, with a squeeze of lemon and a Thousand Island dressing, or eaten with rice as one of the dishes in a Chinese-course meal.

Monday, 28 November 2016

#ewew makes Salt-&-Pepper Crispy Chicken Skin

I've seen contestants making crispy chicken skin countless times on Masterchef Australia when they wanted to have a crispy element on their dish.  And it's always the same, just put them between two sheet pans and shove it into the oven.

It looked simple enough for me to attempt.  But that was a cooking show and they didn't show us how it was actually done or, more precisely, how long it needs in the oven.  I had to google "how to make crispy chicken skin" and most of the results say to bake at 180°C or 190°C for 40 minutes to an hour.  So, here comes my attempt at making Salt-&-Pepper Crispy Chicken Skin.

To prep the skin, just make sure you scrape off any visible fat from the underside of the skin.

To be successful at this, you have to start with dry skin.  The dryer the skin, the crispier it will be when cooked.  After defrosting the chicken skin (from two whole chicken breasts), I used a paper towel to dab dry the skin as much as possible.

I then laid it on a paper towel to absorb whatever moisture there is from the chicken skin.  I popped it back in the fridge until I'm ready to cook (leaving it in the fridge uncovered dries it out further).

But I took one more step to ensure the skin was dry by taking it out of the fridge (about half an hour before) and putting it on the table under a fan to (kind of) blow dry the chicken skin.  Think of it like how they'd hang and fan-dry a duck or chicken before roasting to achieve crispy skin.....same concept! ;)

Lay the skins on a sheet of baking paper on top of a baking tray.  Season generously with salt and freshly cracked black pepper as it needs to be slightly salty.

Then put another piece of baking paper on top and use another baking tray to press down on top.  This is to prevent the skin from curling.

I decided to bake at 200°C oven and it was ready in 30 minutes.  As you can see, the chicken skin oozes out a fair bit of oil.

So, I would suggest that you let the chicken skin drain on a paper napkin for a while...or, better still, use a tissue and lightly dab on the skin to remove the excess oil (if you can't wait to eat it, that is!).

My Salt-&-Pepper Crispy Chicken Skin look good or what? ;)  You can certainly amp it up or play around with other seasonings like paprika, garlic powder or whatever flavour pleases you.

Look just how thin & crispy it is...great on its own as a snack :)  I've even seen a recipe that asks you to serve the (broken-up) crisps with fried garlic chips, some lime zest and a light drizzle of honey (sounds good too!).

Some parts of the skin is so thin that it's almost see-through!  You can use it as a garnish to provide that crispy element to your dish.

The skins can be baked a few hours ahead.  They managed to stay crispy even two hours later when I had some leftovers, otherwise store in an airtight container.

It's salty, crispy goodness in a bite!  And it's ok to be a little 'naughty'...sometimes! ;)

The crispy chicken skin works even better with Aglio Olio Spaghetti =)

Just crush the chicken skin into smaller bits.....and "tabur" (sprinkle) on your aglio olio (ratio of one skin per plate of pasta is quite adequate).

Who needs bacon.....

....when you have crispy chicken skin! ;D

I used to throw away the skin when I bought chicken breast (for Cookie) but now that I've been successful in making crispy chicken skins, I guess I'll have to reconsider before throwing them away now.

So, enjoy.....take a walk on the wild side...come on....you know you want one! ^_*

Related Posts Plugin for WordPress, Blogger...